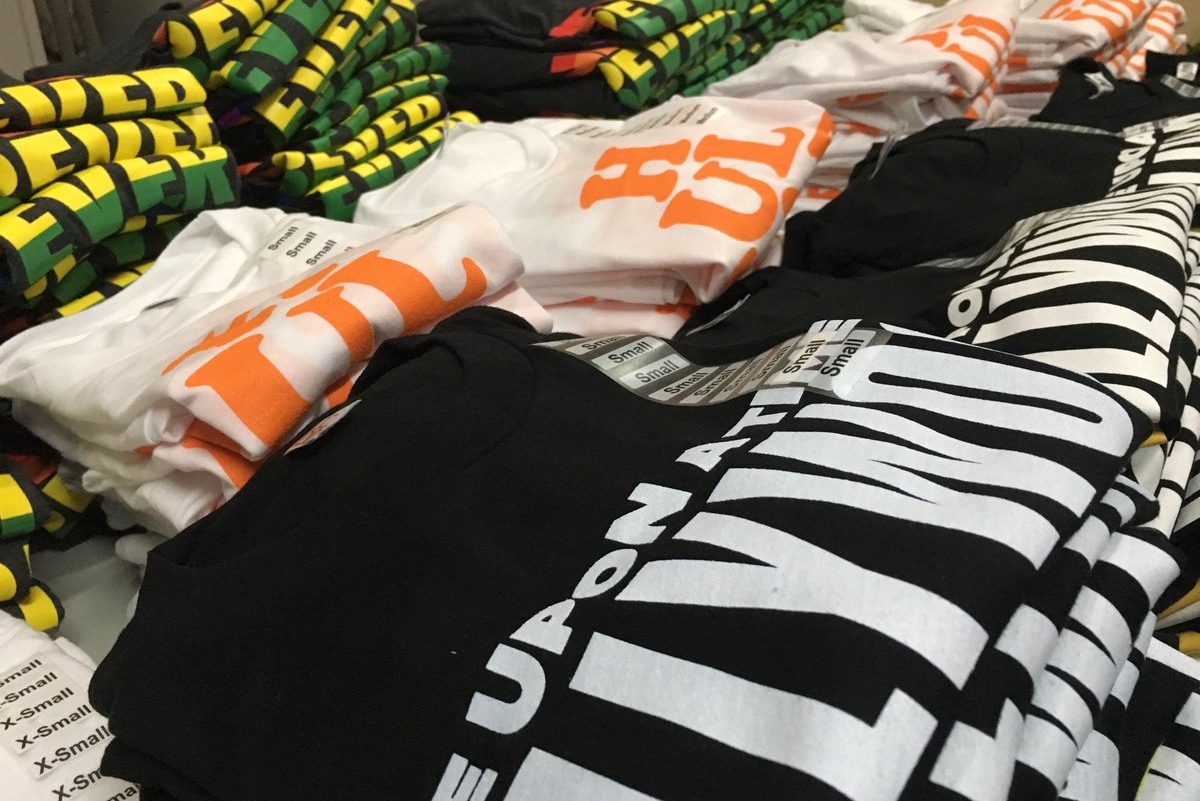
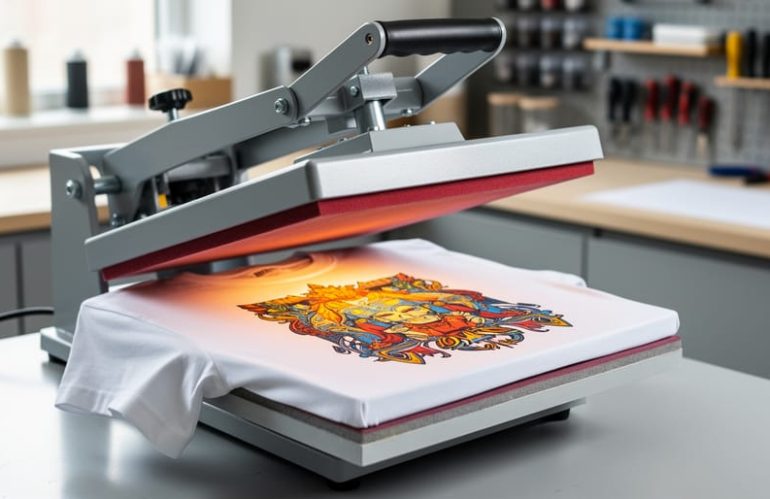
Heat pressing custom designs onto shirts takes about two to four minutes per garment once you’ve set up your equipment and prepped your materials. The process involves three core steps: positioning your design transfer on the shirt, applying heat and pressure at the correct temperature (typically between 350°F and 375°F), and peeling away the transfer backing to reveal your finished design. It’s a straightforward method that anyone can master with a little practice, and it opens the door to creating personalized apparel for yourself, gifts for friends, or even launching a small business from home.
The beauty of heat pressing lies in its simplicity and affordability. You don’t need a massive commercial setup or years of training to produce professional-looking results. A quality heat press machine, the right transfer paper or vinyl, and an understanding of how fabric types respond to heat will get you most of the way there. This guide walks you through everything you need to know, from choosing the right shirts and transfers to troubleshooting common problems like peeling designs or uneven color.
Whether you’re creating your first custom tee or exploring heat pressing as a side hustle, you’ll find that the learning curve is gentle and the results can be incredibly rewarding. We’ll cover the essential tools, safety practices to protect yourself and your workspace, and the exact step-by-step process that produces vibrant, durable prints every time.
What You’ll Need: Essential Tools and Materials for Heat Pressing
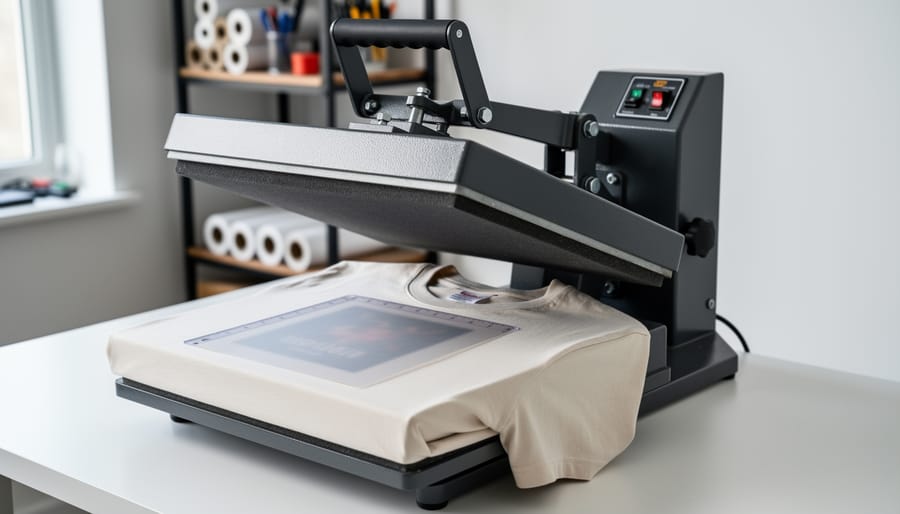
Before you press your first shirt, gather these core items to set yourself up for success. You don’t need an expensive setup to start, many beginners create professional-quality prints with modest equipment and smart material choices.
Heat Press Machine
Your heat press is the centerpiece of your operation. Clamshell models open like a clamshell and cost less upfront, making them perfect for beginners working in smaller spaces. They do require you to reach over the hot upper platen, which takes some getting used to. Swing-away presses pivot the upper heat element to the side, giving you a clear, safer workspace and more even pressure distribution. They’re pricier but worth considering if you plan to scale up production. Either type works well for quality results when you dial in the right settings.
Materials Checklist
Here’s everything you’ll need to have on hand:
- Shirts in your chosen fabric (pre-washed cotton works great for beginners)
- Heat transfer vinyl (HTV) or transfer paper matched to your fabric type
- Teflon sheet or parchment paper to protect both the shirt and your heat press
- Heat-resistant tape to hold your design in place during pressing
- Weeding tool for removing excess vinyl from cut designs
- Lint roller to clean shirt surfaces before pressing
- Scissors or cutting mat if you’re trimming transfers by hand
Choosing Eco-Friendly and Affordable Options
Look for water-based or solvent-free transfer materials when possible, they’re better for the environment and safer to work with in enclosed spaces. Many suppliers now offer recycled content shirts and vinyl scraps you can repurpose for smaller projects, cutting waste and costs. Parchment paper from your kitchen works perfectly as a protective sheet and costs pennies compared to specialty Teflon. You can reuse Teflon sheets dozens of times, making them a smart long-term investment.
Start with these essentials, and you’ll have everything needed to press clean, durable designs. As you gain confidence, you can add specialty tools, but this core setup gets you pressing right away without breaking the bank.
Safety First: Important Precautions When Heat Pressing
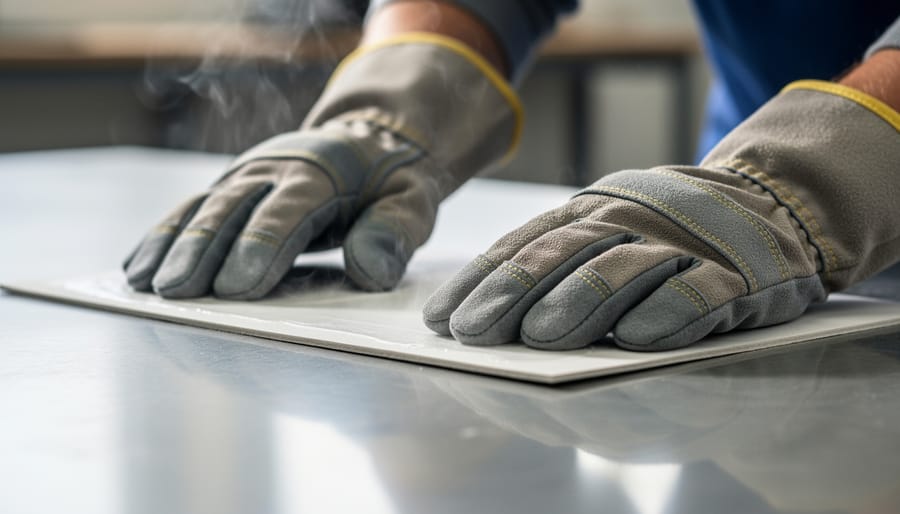
Heat presses reach temperatures of 350°F or higher, hot enough to cause serious burns in seconds. Always treat your heat press as the high-heat appliance it is, and never leave it unattended while powered on. Keep your hands, face, and body clear of the heating element, and never reach across or under the press while it’s closed or hot.
Proper ventilation is essential, especially when working with certain transfer materials. Some vinyl types and transfer papers release fumes during the pressing process that shouldn’t be breathed in repeatedly. Set up your heat press near an open window or in a well-ventilated room, and consider using a small fan to direct fumes away from your face. If you’re pressing regularly or running a business, a dedicated workspace with good airflow protects your health long-term.
Your heat press needs a stable, level surface that can support its weight without wobbling. A sturdy table or dedicated heat press stand prevents accidents and ensures even pressure distribution across your design. Make sure your power cord isn’t stretched across walkways where someone could trip, and plug your machine directly into a grounded outlet, never use an extension cord with high-wattage equipment unless it’s rated for the load.
Wear heat-resistant gloves when positioning or removing shirts, and keep a pair of tweezers or tongs handy for handling hot transfer materials. If you do get burned, immediately run cool (not ice-cold) water over the area for at least ten minutes and seek medical attention if needed.
Choose eco-friendly printing materials whenever possible, they’re not only better for the environment but often safer to work with since many contain fewer harsh chemicals. Dispose of transfer backing sheets and vinyl scraps responsibly, and consider keeping a scrap bin for pieces that might be useful for small projects or tests.
Preparing Your Shirt and Design
Choosing the Right Shirt Material
Fabric choice directly affects how well your transfer adheres and how long it lasts. 100% cotton shirts are the gold standard for heat pressing, they tolerate high temperatures without scorching, work beautifully with heat transfer vinyl (HTV), sublimation transfers (on polyester-coated variants), and most inkjet transfer papers. Cotton’s natural fibers grip transfers securely and feel comfortable against the skin, making them ideal when you design your own custom shirts for personal use or sale.
Polyester blends (like 50/50 cotton-poly) are trickier. They require lower heat settings to avoid scorching or “ghosting” (where dye migrates and creates a shadow around your design). HTV generally works well on blends, but sublimation transfers demand high polyester content (65% or more) to bond properly. Blends are more affordable and resist shrinking, so they’re popular for budget-conscious projects.
Performance fabrics (moisture-wicking polyester) need specialized low-temperature transfers or polyester-specific HTV. Standard cotton settings will melt these fabrics. Check your transfer manufacturer’s guidelines and always test on scrap fabric first to dial in the right temperature, time, and peel method for consistent, professional results.
Pre-Pressing Your Shirt
Pre-pressing is a quick step that most beginners skip, and regret later. Before you apply any transfer, press your blank shirt for about five seconds with no design or paper. This removes moisture from the fabric, which can turn to steam during the actual press and create bubbles or weak adhesion. It also flattens wrinkles that would show through your design and eliminates sizing chemicals that manufacturers often spray on new shirts.
Just lay the shirt on your heat press, close it briefly, then let the shirt cool for a moment before positioning your design. You’ll notice the fabric feels drier and lies flatter. This simple habit prevents most adhesion problems and ensures your transfers bond properly the first time, saving you materials and frustration.
Step-by-Step: How to Heat Press a Shirt
Step 1: Set Your Heat Press Temperature and Timer
Setting the right temperature and time prevents scorched fabric or transfers that won’t stick. Most heat transfer vinyl needs 305-320°F for 10-15 seconds, while plastisol transfers typically require 350-375°F for 8-12 seconds. Sublimation on polyester runs hotter at 380-400°F for 45-60 seconds.
Check your transfer manufacturer’s instructions first, they’ll specify exact settings. Cotton shirts handle higher heat better than poly-blends, which can scorch above 320°F. Always preheat your machine for 5-10 minutes so the platen reaches stable temperature.
Set your timer based on the transfer type, not guesswork. Under-pressing leaves edges that peel after washing. Over-pressing melts vinyl or burns fabric. When in doubt, test on a scrap shirt with identical fabric before pressing your final piece.
Step 2: Position Your Design
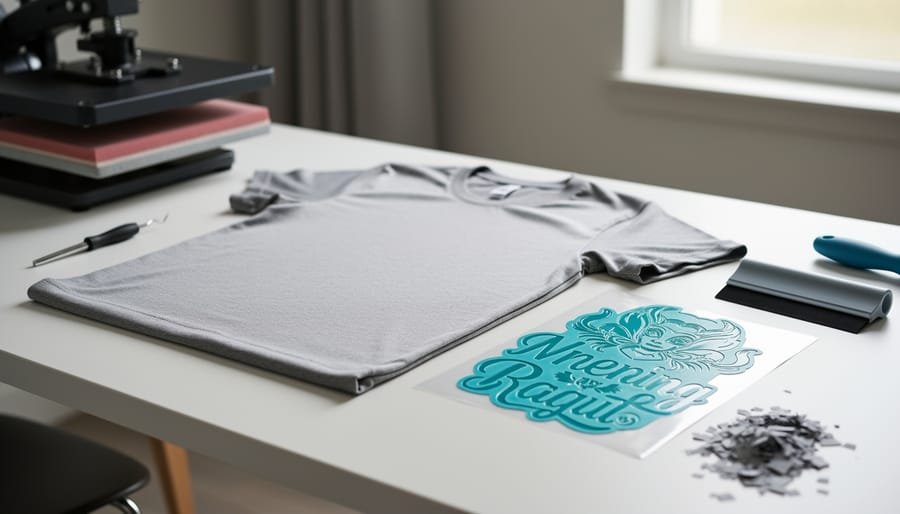
Lay your shirt flat on the heat press bed, smoothing out any wrinkles or folds. For standard chest designs, measure down from the collar seam, about 3 to 4 inches below works for most adult shirts, though you can adjust based on design size and personal preference. Center your transfer horizontally by folding the shirt in half lengthwise and marking the midpoint with a light pencil line or using the garment’s center seam as a guide.
Position your transfer face-down (for HTV) or face-up (for transfer paper, following manufacturer instructions) on the marked spot. Use small strips of heat-resistant tape along the top edge to hold the transfer in place, this prevents shifting when you close the press. Don’t tape all four sides, as you’ll need to peel the transfer backing after pressing. Double-check your alignment from multiple angles before pressing, because once heat is applied, repositioning isn’t an option.
Step 3: Apply Pressure and Press
Close the heat press firmly and smoothly in one motion, applying full pressure without slamming. You should feel resistance as the platen compresses the shirt and transfer together. Listen for the timer to start beeping or watch the digital countdown, this confirms your press cycle has begun.
During pressing, avoid lifting the handle to check progress. Opening mid-cycle releases heat and pressure, which compromises adhesion. If your machine has a pressure adjustment knob, ensure it’s set according to your transfer type’s instructions. Heavy pressure works for most HTV, while delicate transfers may need a lighter touch.
Some steam or slight odor is normal, especially with certain transfer papers. However, excessive smoke signals too high a temperature. When the timer sounds, lift the handle straight up with steady force, don’t jerk it open, as this can shift your design at the last second.
Step 4: Peel and Finish
Once the timer sounds and you’ve lifted the heat press, the critical moment arrives: knowing when and how to peel away the carrier sheet. This decision directly impacts whether your transfer adheres properly or lifts off with the backing.
Hot peel transfers should be removed immediately while the material is still warm, within 2-3 seconds of opening the press. The adhesive sets quickly as it cools, so hesitating can make the carrier difficult to remove and risk damaging your design. Most heat transfer vinyl works best with hot peeling.
Cold peel transfers require patience. Let the shirt cool for 10-30 seconds (or until comfortable to touch) before gently lifting the carrier sheet. This method is common with certain plastisol transfers and some specialty materials where the adhesive needs time to fully bond as it cools.
Check your transfer material’s instructions, the manufacturer specifies which method to use. When in doubt, test on a scrap shirt first.
After peeling, inspect the edges carefully. Press your fingernail gently along the border; properly adhered transfers won’t lift. If you spot any loose areas, cover with your protective sheet and press that spot for an additional 5-10 seconds.
Let the finished shirt cool completely on a flat surface before folding or packaging. This final cooling period allows the adhesive to cure fully, ensuring your custom design withstands repeated washing and wear.
Checking Your Work: How to Verify a Successful Heat Press
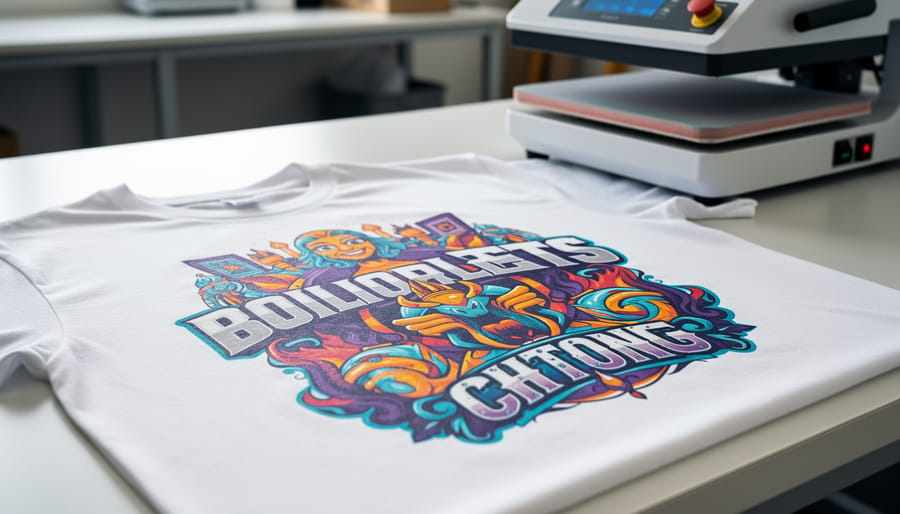
Once you lift the heat press, take a moment to inspect your work before celebrating. A successful heat press should show complete, even adhesion across the entire design with no lifting at the edges or corners. Run your fingers gently over the transfer, it should feel smooth and fully bonded to the fabric, not raised or loose anywhere.
Check for these quality indicators right away. The colors should appear vibrant and consistent, matching your original design without fading or discoloration. Look closely for any bubbles, wrinkles, or shiny spots that indicate uneven heat distribution or trapped air. The fabric around the design should look natural, not scorched or discolored. If you’re working with vinyl, the carrier sheet should have peeled away cleanly, leaving crisp edges and no residue.
Perform a simple stretch test while the shirt is still warm. Gently pull the fabric around the design in different directions. The transfer should flex naturally with the material without cracking, peeling, or showing white stress lines. This quick test reveals whether your pressure and temperature settings achieved proper adhesion. If the design cracks or lifts during this gentle stretch, it won’t survive normal wear and washing.
The peel itself tells you plenty. A clean, smooth peel with no resistance suggests proper bonding. If the transfer material sticks or requires force to remove, you might have underpressed. Bits of transfer left on the carrier sheet signal inadequate heat or pressure. Conversely, if the fabric looks shiny, stiff, or slightly melted around the design, you’ve overpressed or used too high a temperature.
When something goes wrong, act fast. Incomplete transfers can often be fixed with a second press using a protective sheet, adding five to ten more seconds of heat and pressure. For vinyl that didn’t fully adhere, reposition the carrier sheet exactly where it was and press again. Scorching, unfortunately, can’t be reversed, but you’ll know to lower your temperature for the next shirt. Small bubbles sometimes disappear after the first wash, but persistent bubbles or peeling edges mean the transfer won’t last. Catching these issues immediately, while the press is still hot and ready, saves time and materials.
Next Steps: From First Press to Running Your Own Print Shop
You’ve pressed your first shirt, and it’s looking sharp. Now what?
Start by building your confidence. Press a handful of test shirts using different materials, cotton, poly-blends, and performance fabrics, so you understand how each reacts to heat. Try various transfer types: vinyl gives crisp, durable designs while sublimation works beautifully on polyester for full-color graphics. Each practice run teaches you what settings deliver the cleanest results and how different fabrics stretch and wear.
Once you’re consistently producing quality shirts, you’re ready to take orders. Begin small: press shirts for friends, coworkers, or local groups. Use these early projects to refine your workflow and pricing. Many successful print shop owners started exactly this way, turning a basement heat press into a thriving business.
You don’t need a warehouse or massive inventory to scale up. Print-on-demand services let you fulfill orders as they arrive, eliminating upfront costs and storage headaches. Affiliate programs connect you with shirt suppliers and equipment vendors, so you earn while building your customer base. These models make it possible to launch a legitimate printing business with minimal financial risk.
Heat pressing is one piece of a larger custom shirt strategy. As you grow, you might add screen printing for bulk orders, direct-to-garment for complex designs, or embroidery for premium branding. The skills you’re developing now form the foundation for whatever direction your business takes.
Common Heat Pressing Questions Answered
What fabrics work best for heat pressing?
Cotton and cotton-poly blends deliver the most reliable results for beginners, while 100% polyester requires lower temperatures to prevent scorching. Performance fabrics and tri-blends work well with specialized low-temp transfers designed for stretchy materials.
How long do heat-pressed designs typically last?
Quality heat transfers properly applied can last 50+ washes when cared for correctly, washing inside-out in cold water and avoiding high-heat drying. Commercial-grade vinyl often outlasts the shirt itself with proper application.
Can I heat press over seams or pockets?
Yes, but you need even pressure across the entire design. Place a folded towel or heat-resistant pad inside the shirt under raised seams to create a level surface, or consider quick printing solutions like screen printing for heavily seamed areas.
What should I do if I make a mistake during pressing?
For vinyl that didn’t adhere fully, you can usually repress using the same temperature and time settings. If a transfer scorched or melted, that damage is permanent, the shirt cannot be salvaged, which is why test presses on scrap fabric are invaluable.
Are there eco-friendly heat transfer options?
Water-based transfer papers and PVC-free vinyl offer more environmentally responsible alternatives to traditional plastisol transfers. These options reduce chemical exposure during pressing and create less waste, though they may require slightly different temperature and time settings.
Do I need to pre-wash shirts before heat pressing?
Pre-washing removes manufacturing residues and shrinks the fabric beforehand, preventing your design from distorting after the customer’s first wash. Skip fabric softener during pre-washing, as it creates a barrier that prevents proper adhesion.
These questions reflect the real concerns of people just starting their heat pressing journey. The fabric question comes up constantly because different materials react so differently to heat, what works perfectly on a cotton tee can ruin a polyester performance shirt. Understanding these distinctions saves you from costly mistakes and builds confidence as you expand your capabilities.
The longevity question matters whether you’re making shirts for yourself or selling to customers. Proper technique directly impacts how your work holds up over time, which affects your reputation and repeat business. Following care instructions and using quality materials makes the difference between transfers that fade after a few washes and ones that remain vibrant for years.
Heat pressing shirts is more accessible than most people think. With the right materials, accurate temperature and time settings, and consistent safety practices, you can create professional-quality custom shirts from your first press. Whether you’re making a few personalized gifts or launching a full-scale printing business, the fundamentals remain the same.
The learning curve is gentle. Start with simple designs on cotton tees, master the peel technique, and build your confidence through practice. As you gain experience, you’ll develop an intuitive feel for pressure, timing, and troubleshooting. Many successful print shop owners began exactly where you are now, pressing their first shirt at a kitchen table or in a spare room.
The opportunities are real. Custom shirt printing continues to grow as businesses and individuals seek unique, personalized apparel. Your investment in learning heat pressing techniques opens doors to creative projects, side income, or a full-time venture that you control.
At Cheap Tees, we’re committed to supporting your journey with quality blanks at prices that make experimentation affordable and growth sustainable. We understand that every successful print shop started with someone willing to learn, practice, and take that first step. You’re ready to start creating.